DTF transfers at home are transforming how crafters customize garments. If you’ve ever wanted durable designs on tees, hoodies, tote bags, or kids’ clothing without visiting a print shop, this guide is for you and your DIY journey toward DTF print at home. Direct-to-film printing uses a heat press, specialized film, and a bit of powder adhesive to transfer vibrant images to fabric. With the right setup and practice, you can get professional-looking results from your own workspace, turning spare time into a realistic DTF transfer DIY project. This primer outlines what you need, how to prep your design, and the transfer steps to avoid pitfalls in a home DTF tutorial.
From another angle, this home-based approach can be described as a film-to-fabric transfer method powered by heat, combining a film with a white underbase when needed to preserve color integrity. It fits well with a small-batch or start-up merch model, offering straightforward workflow for hobbyists and makers. The idea centers on choosing compatible films and adhesives, dialing in temperature and pressure, and building a repeatable process that yields durable results across different fabrics. By adopting these principles, you can grow confidence in on-demand garment printing at home.
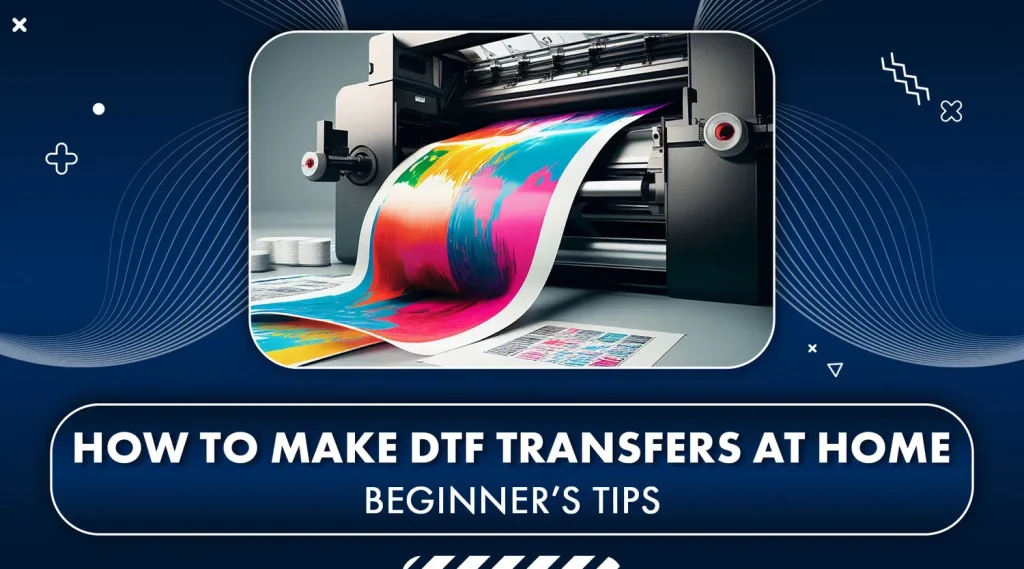
Essential Equipment and Prep for Direct-to-Film Printing at Home
Setting up for direct-to-film printing at home starts with the right toolkit. Invest in a printer capable of handling DTF workflow or adapt a consumer inkjet with compatible inks, plus dedicated DTF transfer films, a white powder adhesive, a reliable curing method, and a heat press with even pressure. This foundation makes the rest of your DTF print at home journey smoother and more predictable, especially when you are aiming for repeatable results. Creating a clean, ventilated workspace and organizing supplies reduces mistakes and speeds up production, which is essential for a home DTF tutorial mindset.
Plan your setup with workflow in mind. Label powders and films, reserve space for test swatches, and maintain a simple labeling system for garment types and temperatures. Consider fabric care and safety gear, and pre press to remove moisture. With a solid equipment base, you can approach direct-to-film printing with confidence and begin experimenting safely, learning from each test run in your home DTF tutorial journey.
DTF transfers at home: Step-by-Step Process from Design to Transfer
Design preparation is the first critical stage in any DTF transfers at home project. Work with high resolution artwork and color separations, plan for a white underbase if you work on dark fabrics, and mirror the image if required. Saving files in suitable formats and using color profiles ensures the final look aligns with the original concept. This stage is a core part of the direct-to-film printing workflow and sets the tone for consistent results across multiple garments.
Printing the white layer followed by color layers on DTF film requires careful setup, clean handling, and proper drying time before applying adhesive powder. After printing, dust the powder evenly and cure it according to product guidelines. This sequence, while technical, is straightforward with practice and is central to successful home DTF printing projects. Keep test swatches on hand to verify adhesion and color before moving to your final garment.
Design Considerations for Bold, Durable DTF Print at Home
Artwork quality drives the durability and vibrancy of your DTF print at home. Focus on clean line art, high resolution, and appropriate color separations, and account for how colors will translate through the white underbase. Knowledge of direct-to-film printing nuances, such as ink layering and fabric interaction, helps you predict outcomes and reduce surprises during the transfer.
Fabric choice matters as much as the design. Cotton and cotton blends typically handle DTF transfers at home with the best wash durability, but you should test on swatches to confirm compatibility. Consider garment weight and texture, and plan for post press care to extend the life of the transfer. This design-first approach makes your DTF print at home projects more professional from the start.
Troubleshooting and Quality Control for DTF Transfer DIY Projects
When you encounter dull colors, poor adhesion, or cracking after washing, start with a quick diagnostic: recheck color profiles, ensure the white layer deposited correctly, verify powder curing, and confirm the heat press settings align with the film guidelines. This kind of troubleshooting is a natural part of a DTF transfer DIY workflow and helps prevent repeated mistakes.
For ongoing quality, maintain a log of settings for each fabric and film type, keep test swatches, and inspect every garment after pressing under good lighting. Regular maintenance of your printer and heat press, plus keeping surfaces clean of lint and dust, supports consistent results in your home DTF tutorial practice. With patience, you can minimize variability and achieve reliable outcomes.
Workflow Optimization for Consistent, Professional DTF Results
Streamlining your workflow reduces time and waste while boosting consistency. Develop a standard sequence from design import to final cure, and keep a simple record of temperature, time, and pressure that works across fabrics. Incorporating batch runs, automatic color management, and organized film handling helps you scale from hobby projects to small product lines using direct-to-film printing techniques.
Maintenance, storage, and workspace discipline support long-term success. Dedicate areas for printing, curing, and pressing to minimize cross-contamination, store powders and films in labeled containers, and schedule periodic checks of your printer and heat press. This disciplined approach makes DTF transfer DIY projects more efficient and helps you deliver repeatable, high-quality results in your at-home journey.
Frequently Asked Questions
What basic equipment do I need to start DTF transfers at home?
To begin DTF transfers at home, you’ll need a printer capable of the DTF workflow (either a consumer inkjet with DTF inks or a dedicated DTF printer), DTF transfer films, white powder adhesive, DTF inks, and a heat press with even pressure. You’ll also want lint-free cloths, a garment ready for transfer, and basic safety gear. Optional extras include a mirror-friendly design file, design software, and test swatches to dial in color and alignment.
How should I prepare artwork for a DTF print at home?
Prepare artwork for a DTF print at home by starting with a high-resolution image (300 dpi) and a clean background; for dark fabrics plan for a white underbase on the film. Mirror the image if your workflow requires reversed transfer, and ensure your color profiles are set for DTF printing. Create test prints to verify color accuracy and proper layering before final runs.
Could you outline the steps for a typical DTF transfer DIY project?
Here’s a streamlined path for a DTF transfer DIY project: design and print on DTF film with the white layer, apply a curing powder and cure it, pre-press the garment to remove moisture, transfer with a heat press at the recommended temp and time, then peel and finish with a light post-press. Keep test swatches to calibrate color, temperature, and pressure for different fabrics. Following the manufacturer guidelines for your film and powder is essential for durable results.
How should I care for garments after direct-to-film printing?
Care for garments after direct-to-film printing by waiting for full curing before washing, turning garments inside out, and using cold or warm water with mild detergents. Avoid hot water, aggressive detergents, and fabric softeners that can degrade the adhesive layer. Air-drying or low-heat drying helps preserve the transfer’s brightness and durability over multiple washes.
What are the most common pitfalls when following a home DTF tutorial, and how can I avoid them?
Common pitfalls in a home DTF tutorial include skipping proper curing, using the wrong temperature or time, and neglecting pre-press preparation or fabric testing. Also, avoid handling the film with dirty hands and skip test swatches; dust and moisture can ruin adhesion and color. Always run test prints on inexpensive fabrics and document your settings to reproduce consistent results.
| Aspect},{ | Notes / Tips | |
|---|---|---|
| What is DTF transfers at home? | DTF prints designs onto a PET film using white and color layers, then transfers to fabric with a powder adhesive. | A practical DIY option that yields professional results with practice. |
| What you need to begin (equipment and supplies) | Printer capable of DTF workflow; DTF transfer films; white powder adhesive; DTF inks; heat press; lint roller; garments; pre-press supplies; ventilation and safety gear. | Optional: mirror-friendly design file, design software workflow, and a test swatch. |
| Understanding the design and print workflow | DTF prints on film (often with a white base) and then transfers to fabric with powder adhesive. Plan for color separations and high‑res artwork; manage color accuracy. | Invest time in color management and test prints for different fabrics. |
| Step-by-step guide: from design to finished transfer | Prepare design and printer settings; print onto DTF film; apply adhesive powder and cure; pre-press garment; transfer with heat press; peel the carrier; post-press; care. | Follow film and powder guidelines; use test swatches to dial in timings and temps. |
| Care, safety, and maintenance | Ventilation during curing; store powders/films properly; regular maintenance of printer and heat press; note fabric care for longevity. | Keep a log of settings for different fabrics to reproduce results. |
Summary
DTF transfers at home empower makers to create bold, durable designs with a relatively approachable setup. In this descriptive overview, you’ll see how a heat press, DTF film, and adhesive powder come together to deliver professional-looking results from your own workspace. By following a clear workflow—design prep, accurate color management, film printing, powder curing, pre-press, transfer, and post-press care—you can personalize apparel such as tees, hoodies, totes, and kids’ clothing with confidence. This home-based method offers creative flexibility, cost savings, and the opportunity to scale from hobby to small business while maintaining quality and consistency through practice and documentation.