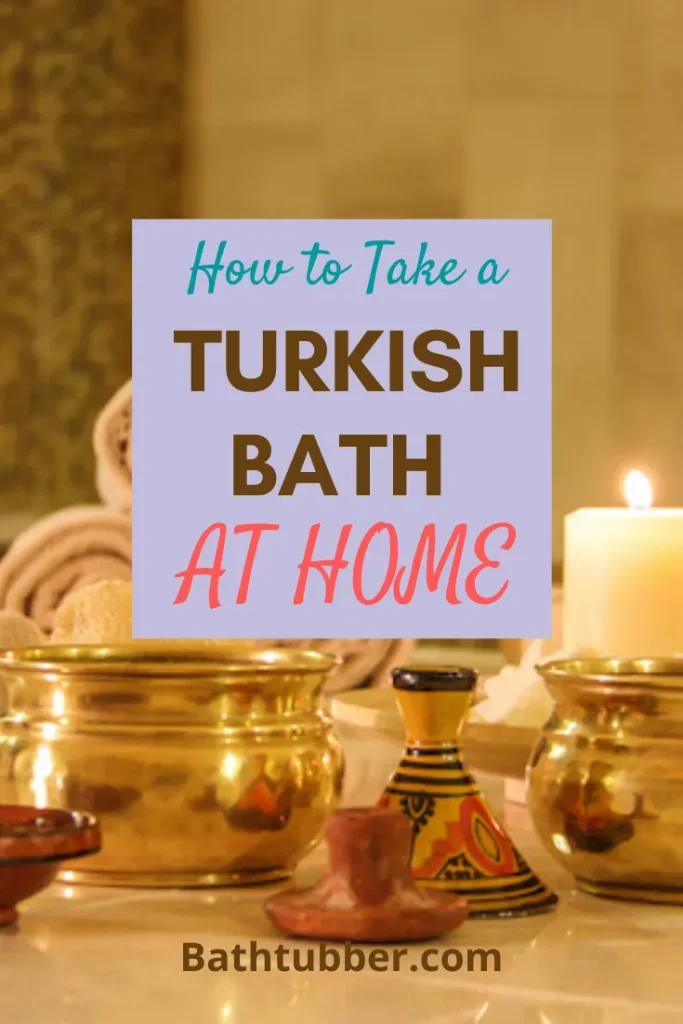
DIY Turkish Bath at Home brings the serene, spa-like ritual straight into your bathroom, turning heat, gentle cleansing, and mindful breathing into a soothing routine. By recreating the hammam at home vibe, you can warm your skin, soften it with steam, and prepare for a refreshing exfoliation without leaving your space. This approach focuses on safety, comfort, and gradual steps rather than a rushed cleanse. The process blends warmth, cleansing lather, and mindful movement to support circulation and renewal. With simple tools and patience, you can craft a rejuvenating session that feels luxurious yet approachable.
A hammam-inspired routine at home can be adapted to small bathrooms while still delivering soothing heat and a calming flow. Think of it as a steam bath at home experience, where gentle exfoliation and nourishing oils around the skin seal in moisture. Rather than replicating a grand spa, you can lean on a Turkish bathing ritual-inspired sequence tailored to your space. Focusing on gradual heat, cleansing, exfoliation, and hydration keeps the practice safe, manageable, and deeply relaxing.
Setting Up a Hammam-Inspired Space for a Steam Bath at Home
Create a dedicated, humidity-friendly corner that echoes the hammam atmosphere. A well-ventilated bathroom or a shower-tub combo can become your private retreat, with a clean bench, non-slip mat, and soft towels ready for action. Fragrance-free or light soap options, a kese mitt, and a gentle olive oil-based cleanser anchor the ritual while keeping the space practical and easy to clean. Emphasize features that support a true hammam at home feeling without overwhelming the room’s layout or your budget.
Design the setup to support a steady, mindful home spa ritual. Place your humidity aids—like a humidifier or a small steamer—in a safe area away from electrical sources, and ensure there is adequate ventilation. Lighting can be softly warm to promote relaxation, while airflow prevents heat buildup. With the right arrangement, you’ll have a steam bath at home environment that invites slow movement, steady breathing, and a sense of calm between cleansing and exfoliating steps.
Turkish Bath Ritual at Home: A Descriptive Step-by-Step Flow
Begin with a gentle cleanse to prepare the skin for deeper cleansing and steam. The Turkish bath ritual thrives on a rhythm of heat, cleanse, exfoliate, nourish, and rest. As you move through the steps, focus on slow, deliberate actions and mindful breathing to extend each phase and maximize circulation benefits.
This flow relies on accessible tools and a balanced environment rather than intensity. Use a kese mitt to exfoliate after the skin has softened in steam, then switch to a mild olive-oil-based cleanser to finish cleansing. Pausing between stages reinforces the home spa ritual feel, turning a routine into a mindful experience that echoes the timeless practice of a Turkish bath ritual.
DIY Turkish Bath at Home: From Steam to Silky Skin
This subheading centers on turning steam into smooth, renewed skin. Allow the pores to open with a gentle, steady application of warmth and humidity, then apply a mild soap or natural cleanser to lift away dirt and oils. The balance of heat and exfoliation should feel nourishing rather than aggressive, helping skin become more receptive to moisturizing oils.
Following exfoliation, rinse with lukewarm water and apply a nourishing oil or fragrance-free moisturizer to seal in hydration. The discipline of this care routine—careful stepping through steam, exfoliation, cleansing, and hydration—transforms ordinary bath time into a luxurious, spa-like experience you can repeat as part of your home spa ritual.
Tools and Products for a Safe and Luxurious Home Spa Ritual
Invest in a few dependable tools that make the DIY hammam steps approachable. A kese mitt or exfoliating glove with a comfortable texture, a mild natural soap or olive oil-based wash, soft towels, and a clean bench form the core kit. An optional diffuser or humidifier can help sustain humidity levels, but always prioritize safety and ventilation.
Product selection should favor simple ingredients with minimal irritants and fragrances. Patch-test new items on small areas of skin before use, and keep a careful eye on how your skin responds to steam. When you combine these tools with careful technique, you create a cohesive home spa ritual that respects both skin health and comfort while staying true to the hammam-inspired experience.
Hydration, Safety, and Post-Session Care After Your Hammam Experience
Hydration is essential before, during, and after each session. Drink water and monitor how your body responds to heat and humidity to avoid dizziness or overheating. If you have any medical conditions or concerns, consult a healthcare professional before beginning a steam bath at home.
After you finish, take a cooling rinse, pat the skin dry, and apply moisturizer to lock in moisture. Ventilate the space to reduce humidity and prevent mold, then rest in a quiet, comfortable area. This final phase completes the home spa ritual, reinforcing safety while preserving the sense of calm and skin-nourishing benefits that a Turkish bath ritual can provide.
Frequently Asked Questions
What are the essential steps in a DIY Turkish Bath at Home to recreate the Turkish bath ritual?
Follow a calm, five-part rhythm: warm up, cleanse, exfoliate, rinse, and moisturize, mirroring the Turkish bath ritual. Start with prep and cleanse, create a comfortable steam environment, exfoliate with a kese mitt, soap and foam, then rinse, cool, and finish with a nourishing moisturizer. This sequence helps open pores, remove dead skin, and leave you refreshed.
How can I safely set up a steam bath at home to support a hammam at home experience?
Choose a well-ventilated bathroom and maintain a comfortable humidity level. Use a humidifier or steam source and aim for a warm, not scorching, environment; limit sessions to about 10–15 minutes and stay hydrated. Gather a bench, towel, kese mitt, mild soap, and a clean area to rinse to recreate the feel of a hammam at home.
What tools and products are needed for the DIY hammam steps to ensure a gentle, effective cleanse?
Essential DIY hammam steps tools include a kese mitt or exfoliating glove, a mild soap or olive oil-based cleanser, clean towels, a bench for comfort, and a cup or bucket for rinsing. Optional extras are a diffuser or humidifier to manage humidity and fragrance-free moisturizers for aftercare.
Is a DIY Turkish Bath at Home suitable for sensitive skin, and how should I adapt the home spa ritual?
Yes, with careful adjustments. Patch-test new products, choose fragrance-free or gentle formulations, and avoid aggressive exfoliation. If you have eczema, pregnancy, or skin conditions, consult a professional first. Adapt the home spa ritual by lowering heat, shortening sessions, and prioritizing hydrating moisturizers after.
How long should a typical session last and how do I pace the DIY hammam steps to avoid overheating?
Aim for 10–15 minutes in the steam, then proceed without rushing through the steps. Monitor how you feel, move to cooler air if overheated, hydrate, and keep activities moderate. Pacing the DIY hammam steps helps protect your skin and energy while still delivering a relaxing hammam-inspired experience.
| Key Point | Notes |
|---|---|
| Concept and aim | Recreate hammam elements at home: warmth, cleansing, exfoliation, nourishing finish; prioritize safety and comfort. |
| Core hammam rhythm | Heat, cleanse, exfoliate, nourish, rest. |
| Safety and suitability | Consult healthcare professional for sensitive skin or pregnancy; stay hydrated; avoid exfoliating on broken skin; monitor temperature; move to a cooler area if unwell. |
| Safe setup planning | Choose a humid space (bath/shower) with good ventilation; minimal equipment; bench, towel, kese mitt, soap, cup/bucket, humidifier/steamer, optional diffuser. |
| Tools and products | Kese mitt or exfoliating glove; mild soap or olive-oil-based cleanser; towels and a bench; diffuser/humidifier optional; skin-safe oils or moisturizers. |
| Step-by-step overview | Prep and cleanse; steam; relax and breathe; exfoliate; soap and foam; rinse and cool-down; moisturize; optional rituals; post-session care. |
| Health and safety tips | Hydrate before/during/after; avoid overheating; patch-test new products; monitor skin; keep space clean and dry. |
| Common mistakes | Overheating or long sessions; aggressive exfoliation; using irritating products in steam; skipping hydration. |
| Personalization and pace | Find your rhythm and preferred products; adjust heat, duration, and exfoliation pressure to comfort. |
Summary
DIY Turkish Bath at Home invites you to discover a calming, spa-like ritual that can be adapted to any space. This descriptive experience emphasizes balancing warmth, cleansing, exfoliation, and nourishment to promote skin health, circulation, and relaxation. By planning a safe setup, selecting gentle tools, and tuning the pace to your comfort, you create a rejuvenating home ritual that echoes the spirit of a traditional hammam. The process centers on mindful breathing, careful exfoliation, and cooling and moisturizing finishes, turning an ordinary bathroom into a serene wellness retreat. With patience and consistent practice, you’ll refine your own rhythm and products, making DIY Turkish Bath at Home a sustainable, self-care habit.