DTF transfers are redefining how designers decorate apparel, delivering vibrant color and a soft hand feel straight from the print bed. As you explore direct-to-film printing, you’ll discover a workflow that blends digital design with the durability of heat transfer printing. The process starts with printing on a specialized film, followed by a fine DTF powder adhesive that bonds when heat is applied. Compared to traditional methods, DTF vs screen printing offers versatility across fabrics and simpler setup for small runs. This guide highlights steps, materials, and tips to help you achieve consistent, professional results that captivate customers.
Alternative terms for this approach include film-to-fabric transfer and direct-to-film technology, describing a film-based method that carries designs to textiles through heat. Think of it as a digital-on-film workflow, where artwork is prepared for the film carrier and then bonded to the garment with an adhesive layer. LSI-friendly phrases such as film substrate transfer, adhesive-coated film, and soft-hand garment printing help connect this topic to related searches while keeping readers informed. From a search-optimization perspective, these terms broaden the topic without diluting the core idea of durable, on-demand decoration.
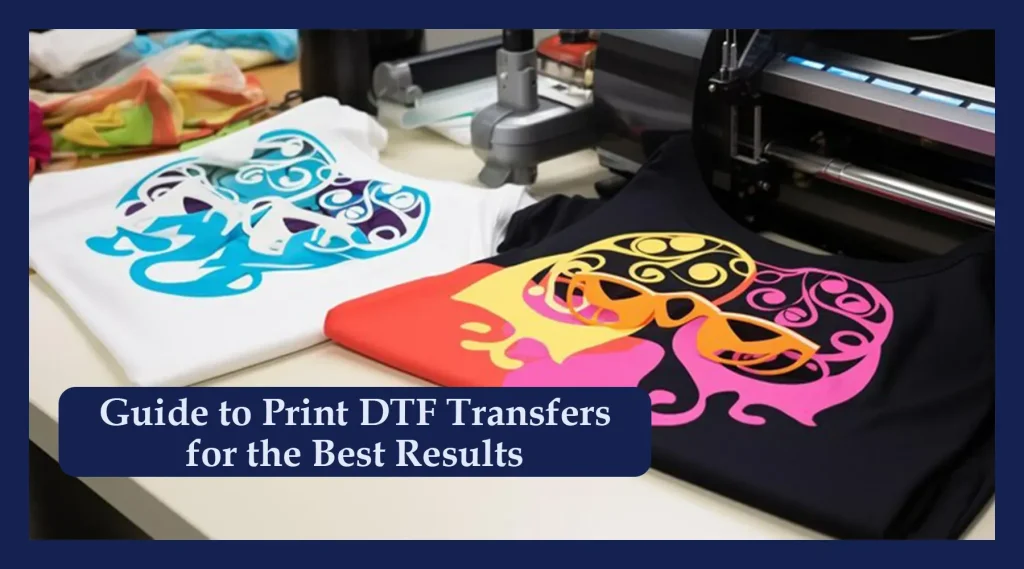
DTF Transfers: Understanding Direct-to-Film Printing and the DTF Transfer Process
DTF transfers refer to a modern garment decoration method branded as direct-to-film printing. This approach prints designs onto a specialized film, often layering a white underbase to ensure vibrant colors on dark fabrics, and then applies a powdered adhesive that will bond the design to textiles during heat pressing. The process is essentially a heat transfer printing workflow, but it leverages a distinct film and adhesive system to deliver durable, high-detail results.
Understanding the DTF transfer process helps creators optimize color, texture, and wash durability. From designing in a digital workspace to printing on film, applying the DTF powder adhesive, curing it, and finally heat pressing onto a garment, each step influences overall quality. This method shines for versatility across fabrics and for achieving a soft hand feel that’s often hard to match with other transfer methods.
DTF vs Screen Printing: When to Choose Direct-To-Film for Garments
DTF transfers often offer advantages over traditional screen printing, particularly for small runs, intricate multi-color designs, or garments with dark backgrounds. The DTF transfer process supports detailed imagery, fine lines, and smooth color gradations that can rival or exceed the capabilities of screen printing in many scenarios. Additionally, the setup and color-separation demands of screen printing can be more time-consuming and costly for short orders.
For brands weighing heat transfer printing versus screen printing, DTF provides a flexible alternative that reduces upfront tooling while maintaining sharp imagery and durable performance. However, for very large runs of a single design, traditional screen printing may still yield lower per-unit costs if executed with high-quality inks and curing. Evaluating fabric type, color needs, and production volume helps determine the best fit.
The DTF Transfer Process: A Step-by-Step Workflow for Consistent Results
Design and file preparation set the stage for a successful DTF transfer. Start with high-resolution artwork (often PNG with transparency) and consider whether a white underbase is necessary for vibrant output on dark fabrics. Planning the print to fit the garment and preserving accurate color channels, including a prepared white channel if needed, are crucial for consistent results in the DTF transfer process.
The steps continue with printing on DTF film using pigment inks, applying the DTF powder adhesive while the film is warm, and curing the powder to create a solid bonding layer. Proper curing ensures reliable release from the film during heat pressing. Subsequent garment preparation, alignment, heat pressing, and peel timing complete the core workflow, with post-press care reinforcing durability.
Materials, Equipment, and Best Practices for a Smooth DTF Workflow
A successful DTF workflow relies on a balanced set of materials and equipment designed for durability and color fidelity. Core components include a dedicated DTF printer with appropriate inks, DTF film—the carrier for the design—and a reliable DTF powder adhesive. A capable curing unit and a robust heat press are essential to achieve consistent results across diverse fabrics.
Beyond hardware, workflow discipline matters. Pre-press preparation, precise alignment, and careful curing of the adhesive layer all influence adhesion, wash durability, and color stability. Regular testing, calibration, and documentation of optimal settings for each fabric type help maintain a steady, repeatable DTF transfer process.
Care, Durability, and Longevity of DTF Transfers
Care plays a significant role in preserving the vibrancy and adhesion of DTF transfers. Following care guidelines—such as washing inside-out, avoiding high heat, and using mild detergents—helps extend the life of the print and maintains a soft hand feel created by the DTF process. Proper post-press care and cooling further support durability.
Over the garment’s life, re-pressing or touch-ups may be beneficial to reinforce bond strength, especially after multiple wash cycles. By adhering to the DTF transfer process best practices, including careful curing of the DTF powder adhesive and appropriate garment preparation, you can sustain vivid colors and reliable adhesion across a range of fabrics and use cases.
Frequently Asked Questions
What are DTF transfers and how does the DTF transfer process work in direct-to-film printing?
DTF transfers refer to prints created via direct-to-film printing. In the DTF transfer process, a design is printed onto a special film with pigment inks, a powder adhesive is applied and cured, and the image is transferred to a garment with a heat press. The workflow yields vibrant color, a soft hand feel, and broad fabric compatibility. Key steps include design, printing on DTF film, applying and curing the adhesive powder, aligning the garment, heat pressing, and finishing aftercare.
What is the role of DTF powder adhesive in DTF transfers, and how does it affect durability and washability?
DTF powder adhesive is the bonding agent that fixes the printed film to fabric during heat pressing. When lightly dusted onto the warm print and cured, it forms a durable bonding layer that determines adhesion and wash durability. Correct curing and powder amount are essential; under- or over-application can lead to poor adhesion, cracking, or peeling after washing.
DTF vs screen printing: which method is better for multi-color designs and small runs?
DTF vs screen printing: For multi-color designs and small runs, DTF transfers typically offer faster setup and greater flexibility since there’s no need for multiple screens or color separations. Direct-to-film printing provides strong color fidelity and works well on a range of fabrics, including dark ones. Screen printing can be more economical for large-volume, single-color jobs but requires more upfront setup.
Is heat transfer printing a good alternative to DTF transfers for apparel, or does DTF printing offer better color and soft hand feel?
Heat transfer printing can be simpler for straightforward designs, but DTF transfers often deliver brighter colors, more accurate gradients, and a softer hand feel, especially on dark fabrics. DTF printing also tends to offer broader fabric compatibility and more flexible, on-demand production compared with traditional heat transfer methods.
What fabrics work best with DTF transfers, and can you achieve durable results on cotton, blends, and polyesters using direct-to-film printing?
DTF transfers are versatile across cotton, blends, and polyesters. For best results, use proper pre-press, accurate powder curing, and appropriate heat-press settings. Dark fabrics may require a white underbase to maintain brightness, but direct-to-film printing generally yields durable, colorful results with a soft finish on a wide range of fabrics.
| Topic | Key Points |
|---|---|
| What is DTF printing? | Direct-to-film (DTF) printing prints designs onto a special film using pigment inks, typically with a white underbase for bright colors on dark fabrics; an adhesive powder is applied after printing, and the image is transferred to fabric with a heat press. It offers versatility across cotton, blends, polyesters, and both light and dark garments, delivering vibrant color, fine detail, a soft hand feel, and generally lower setup for small runs. |
| Step 1: Design and file preparation | Use high-resolution artwork (commonly PNG with transparency). For vibrant colors on dark fabrics, plan a white underbase. Size the design to fit the garment and save in a printer-friendly color profile; if using color-channel separation, ensure the white channel is prepared. |
| Step 2: Printing on DTF film | DTF film is specially coated to receive ink; printers use pigment inks and may require a white ink channel. The print is a mirrored image on the film that includes color information and an underbase. |
| Step 3: Applying adhesive powder | While the film is warm, dust a fine PET-based adhesive powder over the surface. The powder then needs to be cured to form a bonding layer. Too little powder causes poor adhesion; too much can dull color or create a rough feel. |
| Step 4: Curing the powder | Cure the adhesive powder with a curing unit or oven to bond to the film. Proper curing ensures clean release from the film and durable transfers, reducing flaking or cracking after washing. |
| Step 5: Garment preparation and alignment | Pre-press the garment to remove wrinkles and moisture. Align the printed film using a planning board, ruler, or light to confirm position. Consistent alignment is crucial for professional-looking multi-color designs. |
| Step 6: Heat pressing | Place a protective sheet over the film and press with a heat press. Typical settings: around 160–170°C (320–338°F) for 15–20 seconds with moderate to firm pressure. Some workflows use a pre-press followed by a final press. |
| Step 7: Peel and finish | Peel the film while warm or at room temperature depending on the adhesive; hot-peel is common, though some films are designed for cold-peel. A light post-press can help maximize bond strength. |
| Step 8: Post-processing and care | Allow the print to cool fully and follow care instructions (wash inside-out, use mild detergents, avoid high-heat drying) to extend life. Proper curing and post-press steps improve longevity. |
| Materials, Equipment, and Workflow Essentials | Printer and inks (DTF printer or modified printer with white and color pigment inks); DTF film; adhesive powder; curing equipment; heat press; garment pre-treatment; protective cover sheets and release film. |
| Choosing Between DTF and Other Methods | DTF offers high color accuracy and detail, works on many fabrics, and typically has lower setup costs for short runs compared with traditional screen printing. It also provides a softer hand feel. For large runs of a single design, screen printing may be more economical. |
| Pros and Cons of DTF Transfers | Pros: vivid color, works on a wide range of fabrics (including dark garments), good durability with proper curing, flexible workflow for on-demand or small-batch production, simpler multi-color setup than traditional screen printing. Cons: requires careful curing and powder handling to avoid white specks, some fabrics may need testing, and quality can vary with equipment and materials. |
| Common Mistakes and Troubleshooting | Inadequate powder curing, uneven heat or pressure, misalignment, improper washing care, and film residue. Mitigate with test prints, press calibration, and documented settings for each fabric type. |
| Care, Maintenance, and Longevity | Wash inside-out with mild detergents; avoid fabric softeners that can affect adhesion; dry on low to medium heat or air-dry; store garments away from direct heat or sunlight; re-press as needed for reinforcement. |
| Versatile Use Cases for DTF Transfers | Custom T-shirts for events, teams, or schools; hoodies, jackets, and athletic wear with multi-color designs; promotional items like bags, hats, and accessories; short-run fashion lines or boutique collections; prototyping and on-demand product customization. |
Summary
DTF transfers offer a flexible, vibrant approach to garment decoration across a broad range of fabrics. This descriptive overview highlights how the DTF transfer process works—from designing and printing on film to applying adhesive powder, curing, heat pressing, peeling, and post-care—and explains why many shops choose DTF transfers for on-demand, small-batch production. By mastering design preparation, accurate heat-press settings, proper film handling, and careful garment preparation, you can achieve reliable, long-lasting results with DTF transfers. The method’s versatility, soft hand feel, and strong color reproduction position it as a competitive option alongside other methods like screen printing and HTV.